
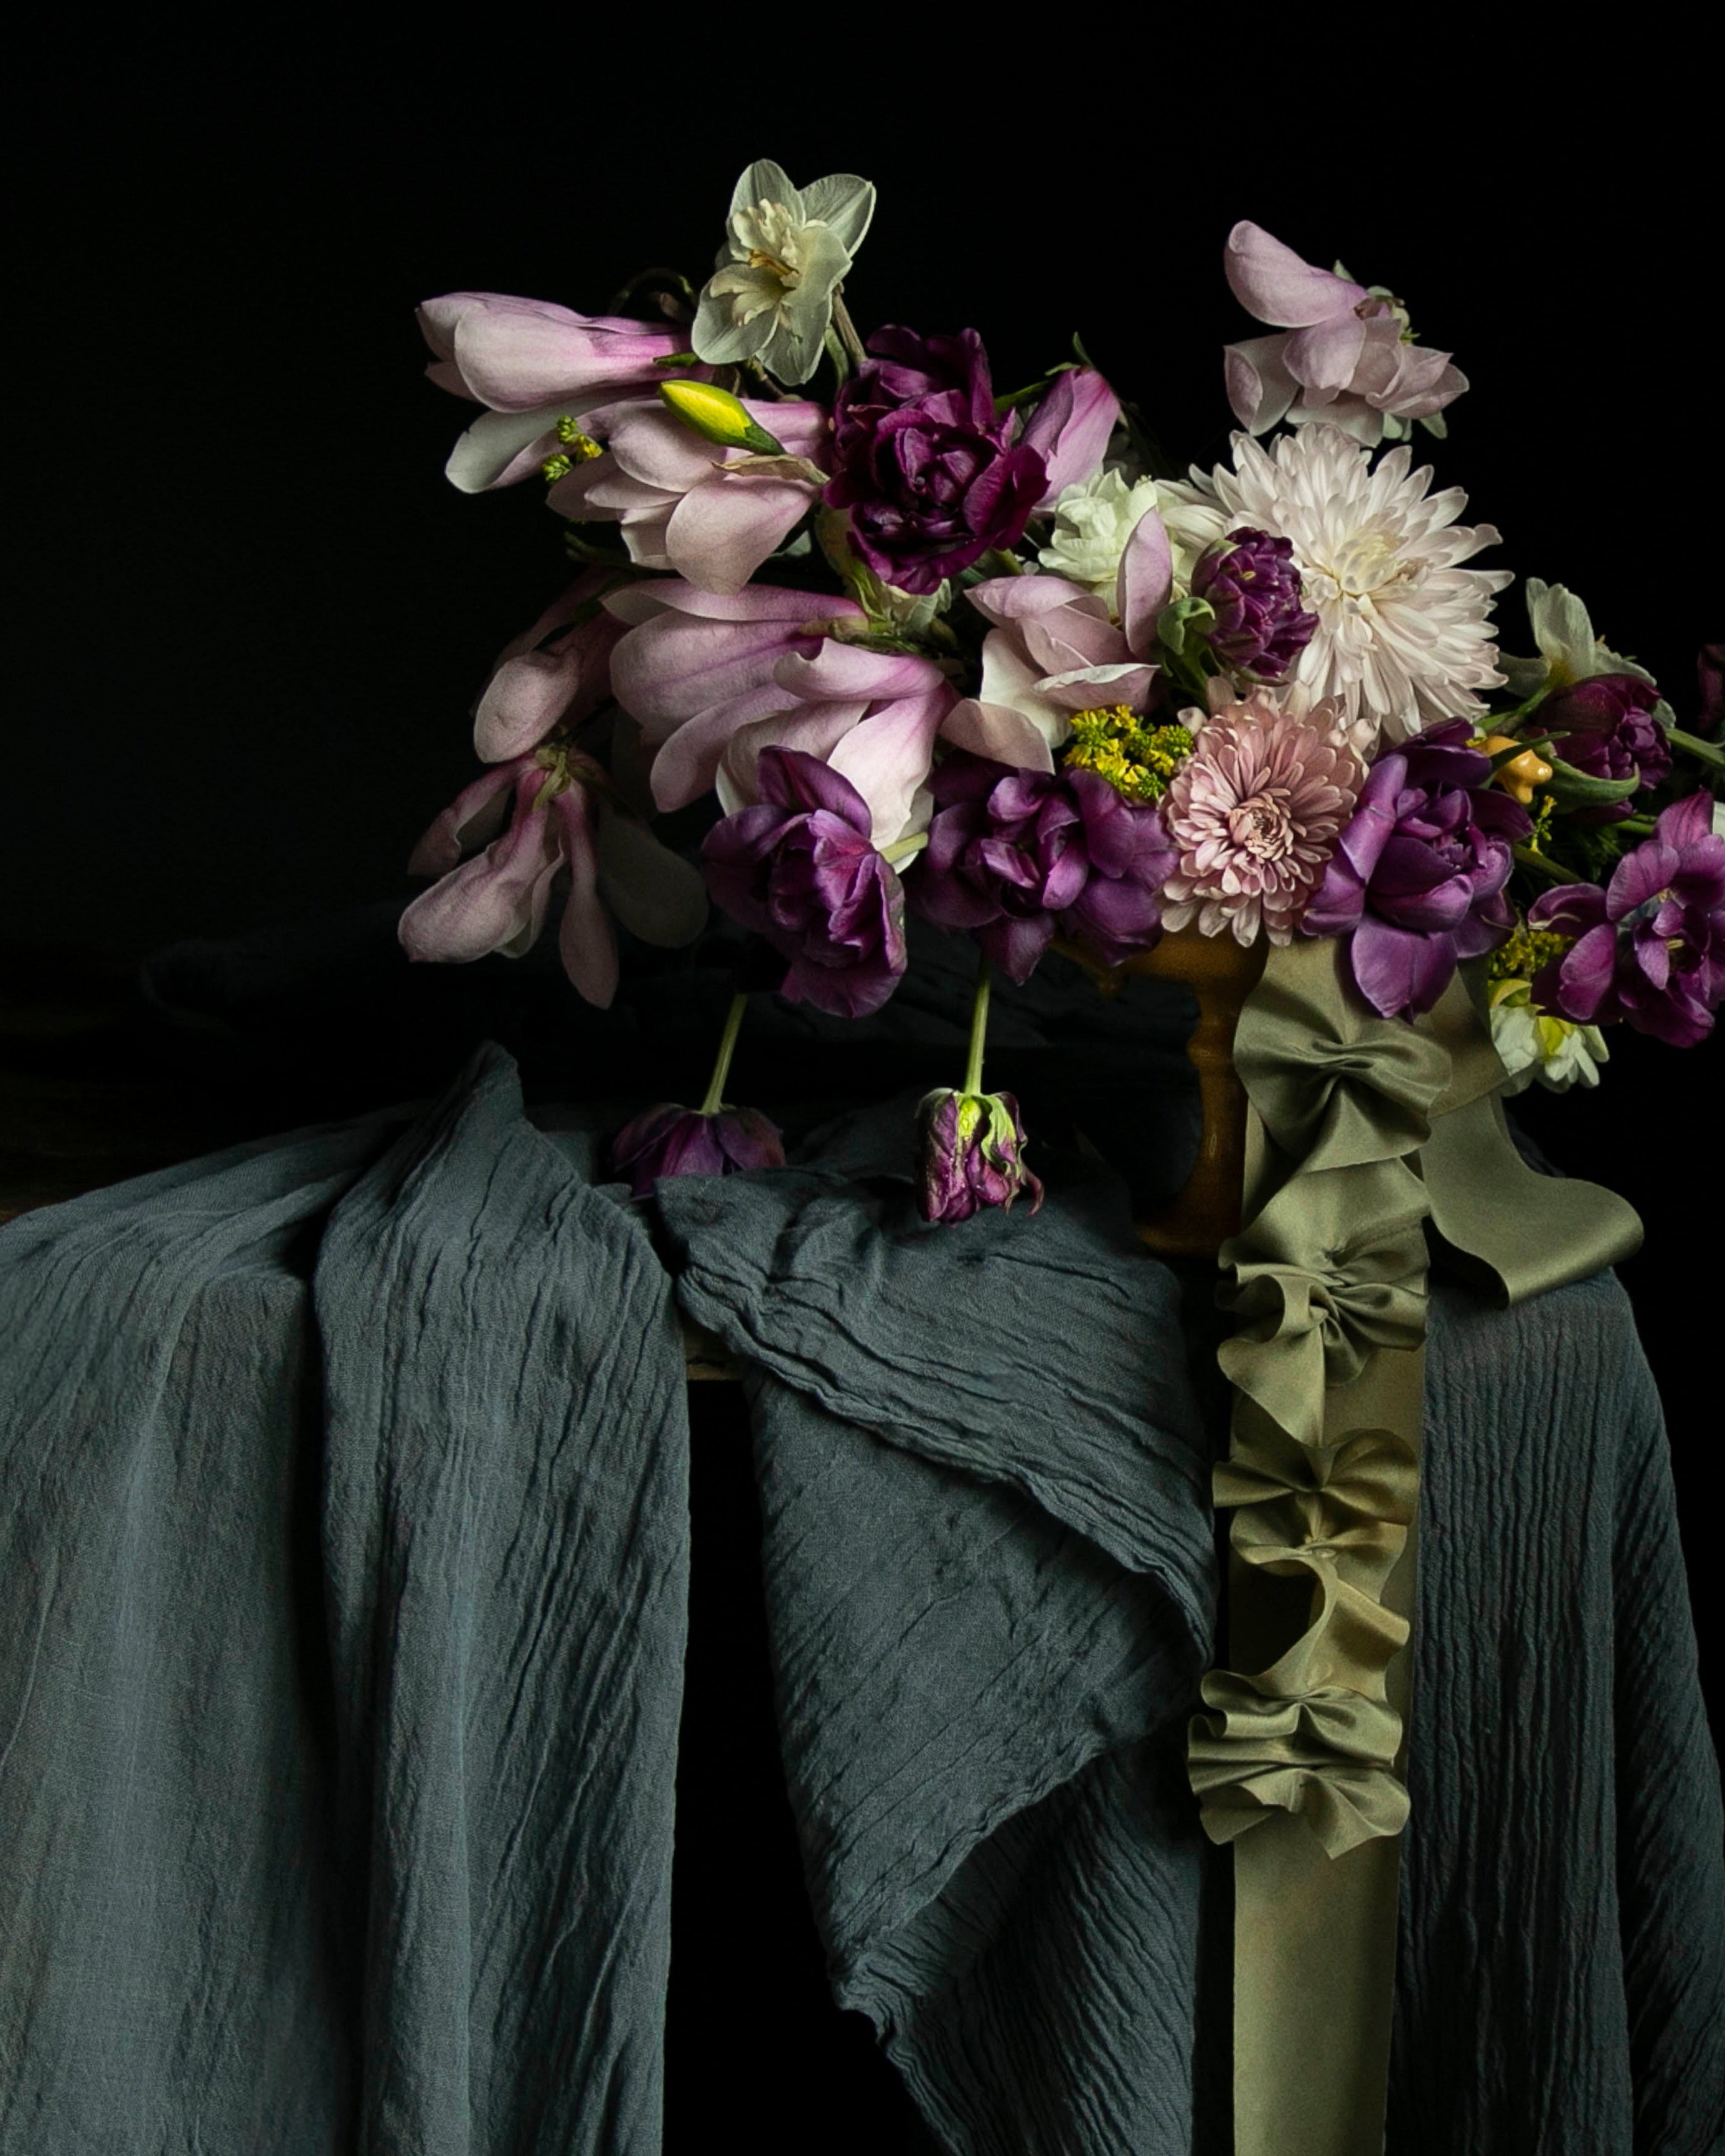

Your kitchen holds more color than you might think. Onion skins, coffee grounds, turmeric, avocado pits — these everyday pantry staples and food scraps are brimming with natural dye potential. There's something deeply satisfying about transforming what would otherwise go to waste into something beautiful, and that's exactly where my natural dyeing journey began: at the kitchen stove, with nothing more than a pot, some silk, and a handful of onion skins.
Onion skins are one of the easiest places to start experimenting with natural dyeing. They're a "substantive dye," meaning they contain tannins — naturally occurring compounds that act as a built-in mordant, helping color bond directly to your silk ribbons. No special equipment, no dye studio required. Just your kitchen, a stainless steel pot, and a little patience.
In this tutorial, I'll show you how to use onion skins to create eco-print silk ribbons with rich, russet impressions that look like layers of pressed autumn leaves. Each ribbon turns out entirely its own — no two are ever alike.

What You'll Need
- Silk ribbon (undyed, or pre-dyed with a base color)
- Yellow or yellow and red onion skins (save these over time — or use the skins of one large bag of onions)
- Stainless steel pot
- Steamer basket
- Wooden dowel or sturdy twig
- Cotton string or extra ribbon to tie
- pH-neutral soap
- Slotted spoon
- Iron

A Note on Base Color
Before you begin, decide whether you'd like your eco-prints to appear on a white background (skip to Step 4) or a warm yellow base (continue with Steps 1–3). A yellow base creates a richer, more layered look that really echoes the tones of autumn.
Other kitchen materials you can use to build a base hue:
- Turmeric → bright golden yellow
- Coffee grounds or black tea → warm tan
- Avocado pits → pale blush pink
Step 1: Soak Your Silk Ribbons
Submerge your silk ribbon in warm tap water and let it soak for at least 30 minutes. This step matters — it opens the fibers so they're ready to accept the dye evenly. Don't skip it. Even, beautiful color starts here.
Step 2: Build Your Base-Hue Dye Bath (skip if printing on white)
Place half of your onion skins into a stainless steel pot and cover with water. Bring to a boil, then reduce to a gentle simmer. Let the color develop for a minimum of 30 minutes — longer if you want a deeper, more saturated hue. Keep an eye on the water level and top it off as needed so the skins stay submerged.
Once the bath has deepened to a rich amber-gold, remove it from the heat and let it cool to room temperature. Remove the onion skins and discard or compost them.

Step 3: Dye Your Base Color (skip if printing on white)
Gently squeeze excess water from your soaked ribbon and lower it into the cooled dye bath. Add additional water so that the ribbons are fully submerged in the water. Return the pot to the stove and bring it back to a low simmer. Let the ribbon simmer for about 20 minutes, stirring occasionally. Check the color as it develops — if you want more depth, leave it a little longer.
Once you're happy with the color, remove the ribbon with a slotted spoon, let it cool slightly, and gently squeeze out the excess liquid. Keep the ribbon damp — you'll move straight into the eco-printing step.

Step 4: Lay Your Ribbon Flat and Place Onion Skins
Open your damp ribbon out flat, unfolding any layers so it lies in a single, even strip. Take the remaining onion skins and begin placing them directly onto the silk. Place some onion skins with distance from each other, and others together in overlapping patterns. There's no wrong way to do this — think of it like arranging fallen leaves. More coverage means more print; gaps will show the base color beneath.

Step 5: Roll and Secure
Starting at one end, slowly roll the ribbon around your wooden dowel, keeping the onion skins pressed firmly against the silk as you go. Wind tightly— the tension is what allows the pigments to transfer so cleanly. Once the ribbon is fully rolled onto the dowel, tie it securely with a length of cotton string or extra ribbon.
Step 6: Steam to Set the Print
Add about 1–2 inches of water to your clean stainless steel pot and set your steamer basket inside. Place the rolled dowel in the basket, cover with a lid, and bring the water to a gentle boil. Steam for about 30 minutes. Check the water level every 10 minutes or so and top it off as needed — you never want the pot to run dry.
The heat and steam work together to coax the pigments from the onion skins into the silk, setting the prints in place.

Step 7: Cool, Unroll, and Rinse
Turn off the heat and leave the lid on until the pot has cooled enough to handle safely. Carefully remove the dowel and begin unrolling the ribbon, peeling away the spent onion skins as you go. Compost the skins.
Fill a bowl with cool water and add a single drop of pH-neutral soap. Gently wash the ribbon, then rinse until the water runs completely clear.
Step 8: Dry and Press
Hang your ribbon to air dry in a spot away from direct sunlight. Once dry, press it with an iron on the silk or medium-heat setting to smooth the ribbon.


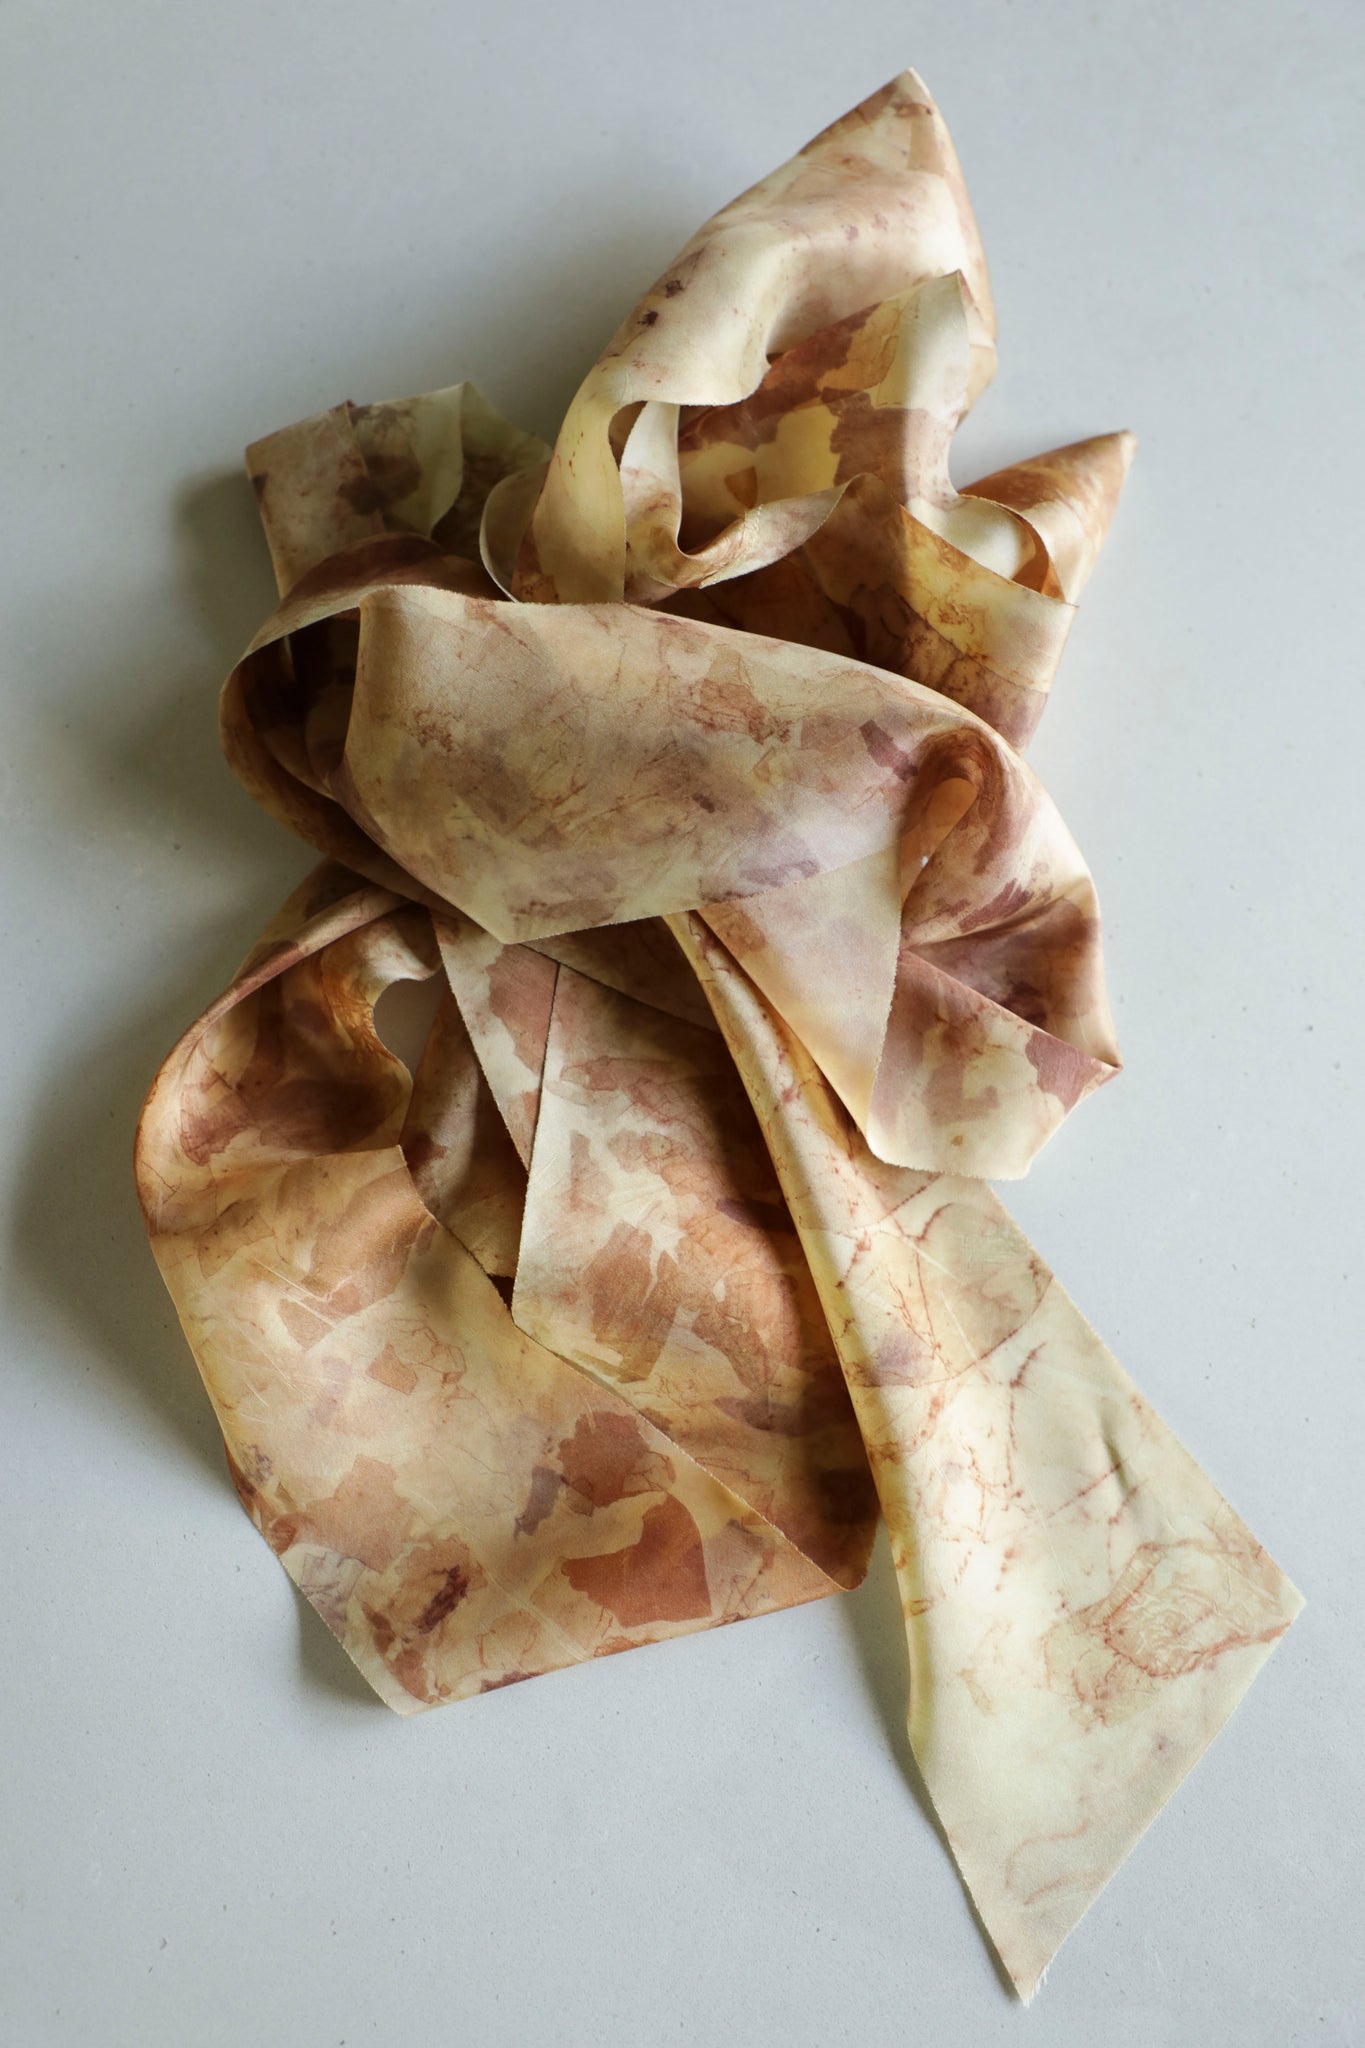
What you're left with is a ribbon that carries the essence of the Fall season. The onion skins leave behind russet, amber, and gold — colors pulled straight from the autumn landscape, pressed into silk by nothing more than steam and time. Use your finished ribbons to tie around wreaths, bouquets, candles, or a beautifully wrapped hostess gift.
Ready to try it? Start with our DIY Undyed Ribbons — the same luxurious silk we use in our studio.