

Are you planning a special event and looking for a unique way to wow your guests at your next event? Perhaps you’re a DIY enthusiast or professional stationery designer looking for a unique way to spice up your menu cards, place settings, or event invitations. Using silk fabric or ribbon as your printing medium could be your game-changer, adding an elegant and luxurious touch to your event styling.
In this tutorial blog, we’ll guide you through the process of laser printing on silk fabric and ribbons. Whether you choose to tackle this project on your own or consult with a professional, these steps will take you through the silk-printed details that will add a memorable touch to your next project!
Creating Your Digital Design
Design Your PrintablesBegin by designing the digital file you intend to print. Adobe Illustrator is our preferred software for its versatility in creating vector graphics. Make sure to set up your workspace to an 8.5 x 11-inch layout to have enough room for your design and ample space for your taping allowance.

Setting Up Your Silk
Prepare the Silk and Paper
Choose a cardstock paper with a good weight to serve as the backbone for the silk fabric or ribbon. You will then use painters tape to tape the edges of the silk to the cardstock, making sure the surface is smooth and the fabric lies flat.
Align Your Design
Center your design at the top of the paper to optimize the available space. A practical tip is to pre-print an outline on the paper as a guide for aligning the silk or ribbon.


Printing Time
Secure the Silk
Using painter's tape, secure the silk fabric or ribbon over the design guide you've created. A nifty trick is to reduce the stickiness of the tape by first pressing it against clothing - this ensures easy removal later and multiple uses from the same piece of tape.

Adjusting Printer Settings
Fine-Tune Your Printer Preferences
Before printing, head over to your printer settings and select 'matte cardstock', and opt for the highest quality print. Load your paper with your carefully taped silk into the manual feed tray of your printer, taking special care that all silk edges are covered by tape to prevent getting caught in the rollers.

Final Touches
Gently Remove the Tape and Finish
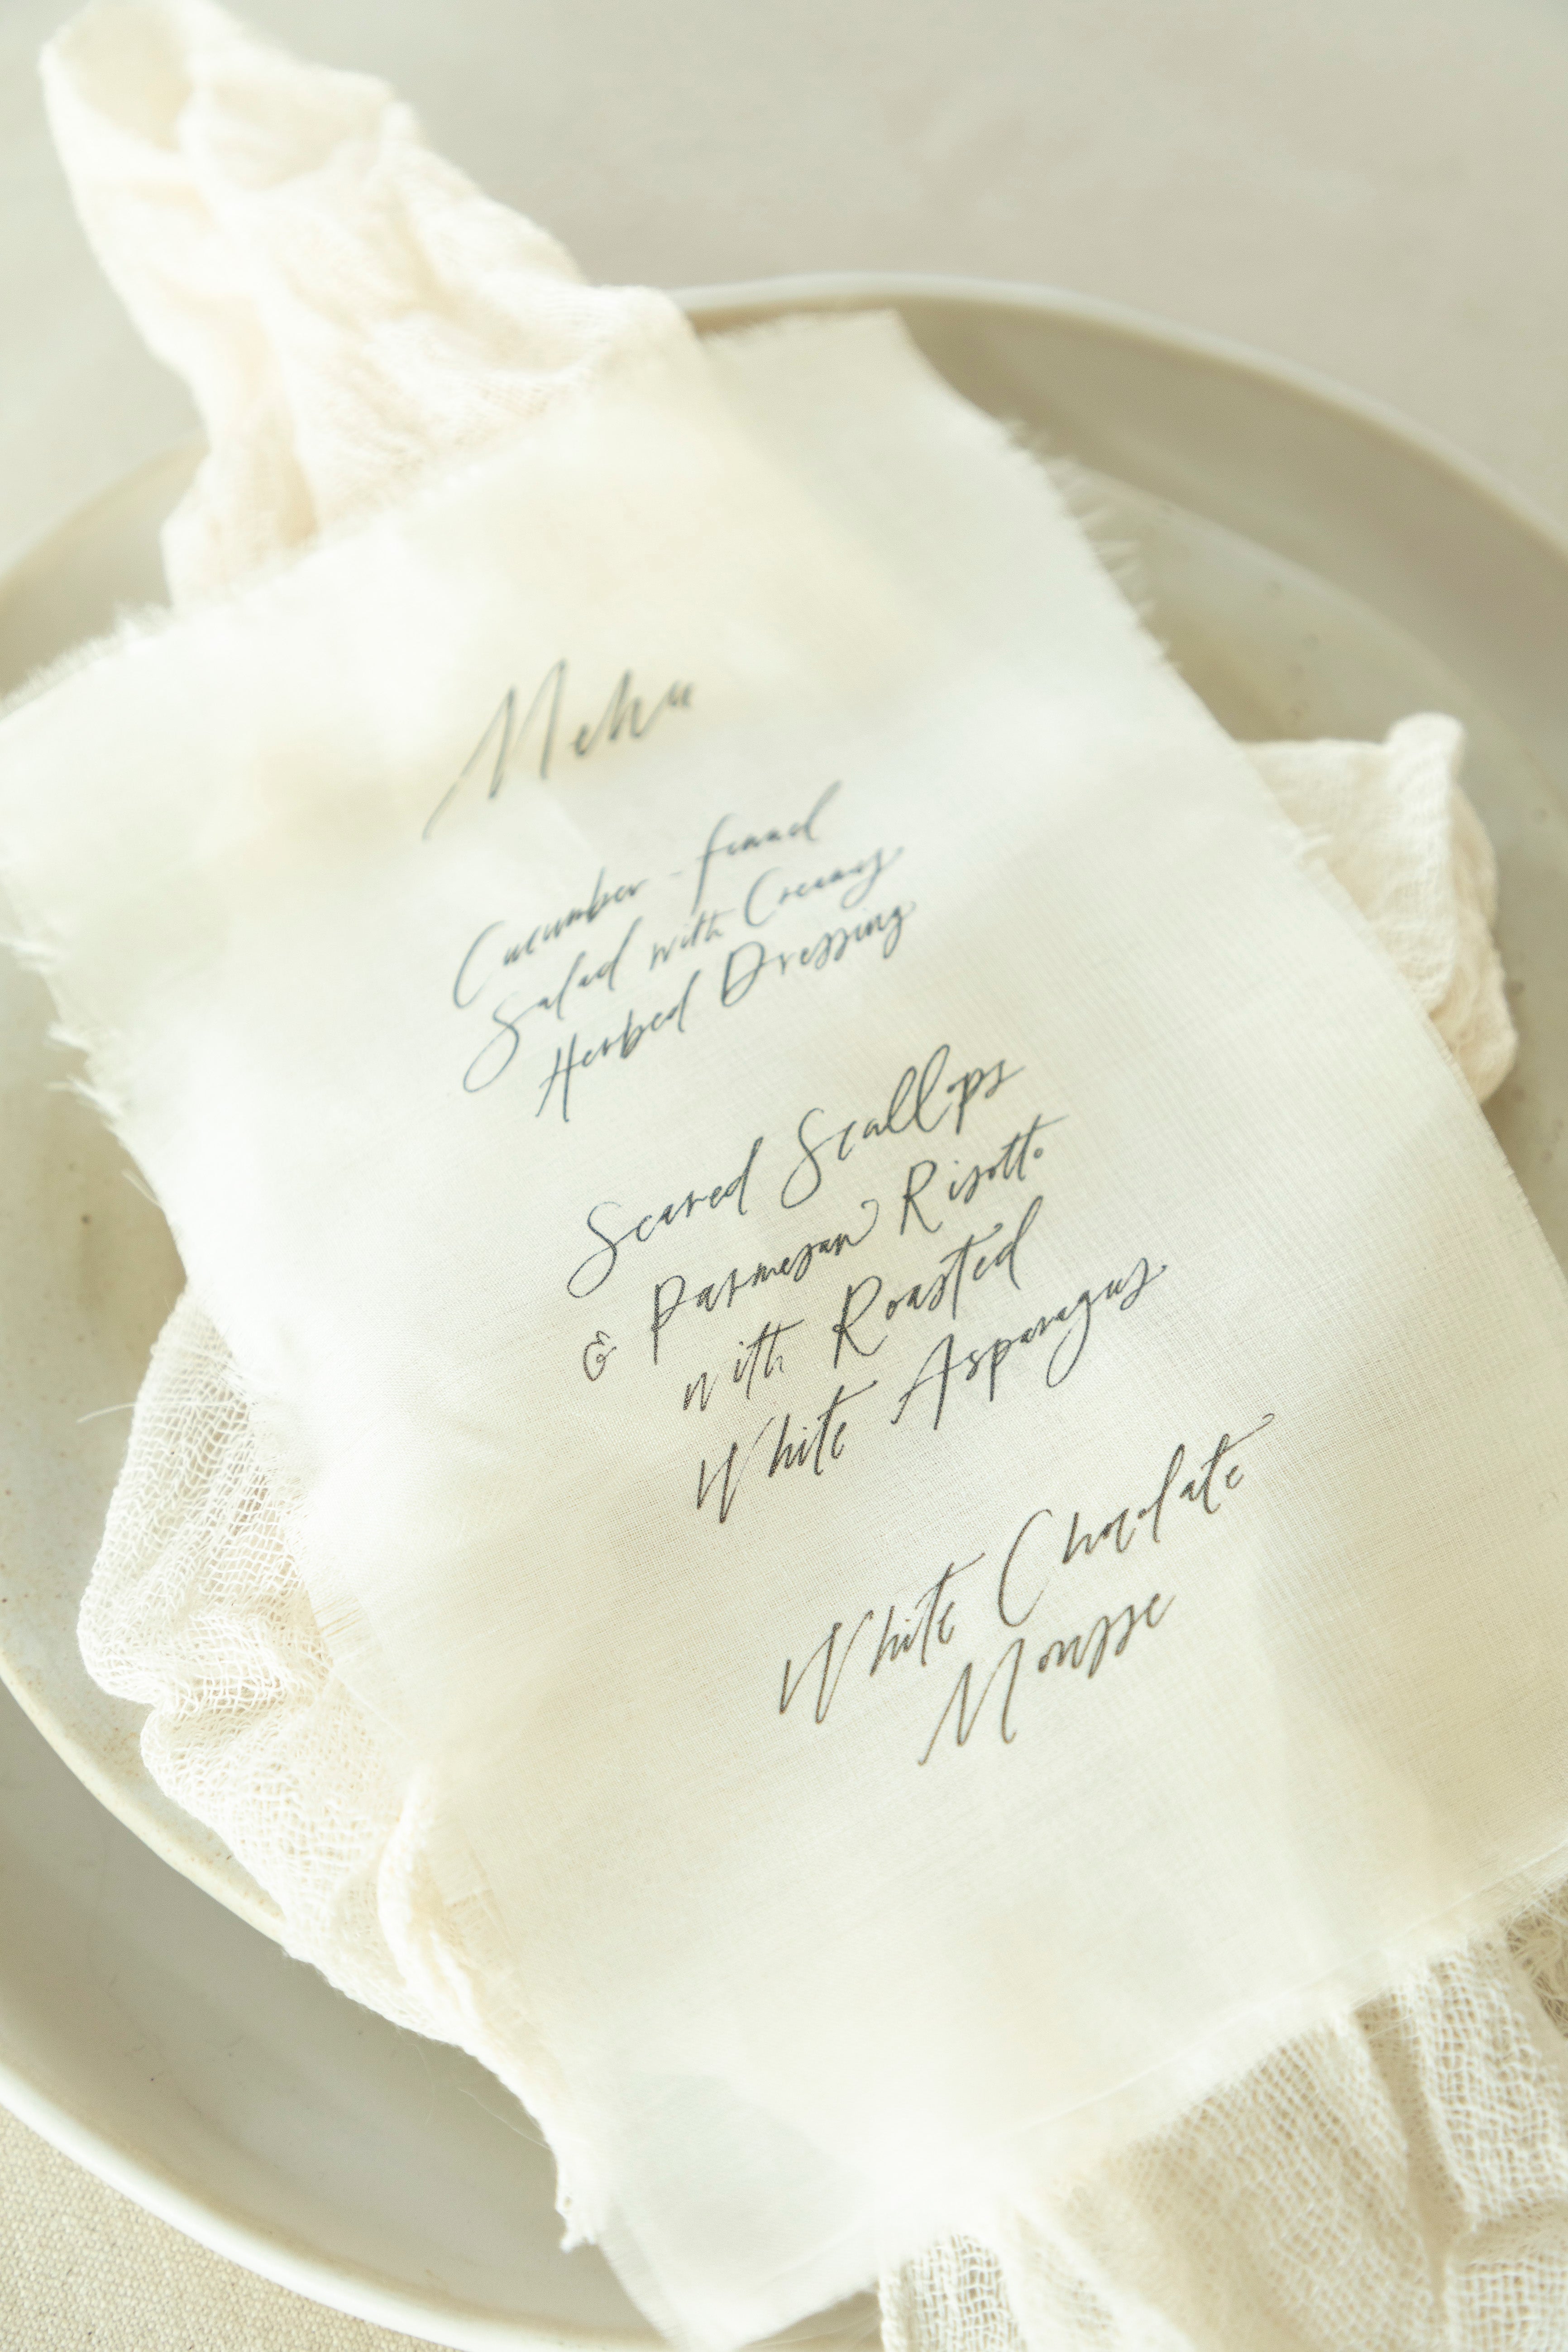
Once printed, carefully remove the painter's tape to reveal your beautiful silk-printed design. If necessary, use an iron on a low setting to smooth out any wrinkles or creases. For adding character to your silk fabric, you may choose to rub the ourside edges of the silk to create a natural fray on the silk.

With these simple steps, you’ll be able to transform ordinary event stationery into something visually stunning and tactilely luxurious. Whether it’s a wedding, gala dinner, or boutique lunch, silk-printed details can elevate your event atmosphere and leave a lasting impression on your guests.

Experiment with the possibilities! Printing a name or monogram on silk ribbon and adding it as a detail on your handmade paper menus is another lovley option to explore.

Remember that patience is key — working with silk in your home printer is an exercise in delicate handling. The result, however, is well worth the effort, offing endless possibilities for custom menus, invitations, and place settings that exude sophistication.
Happy printing and may your events always carry that personal, elegant signature that only silk can provide!
GET YOUR SUPPLIES
Undyed Silk Ribbon — This is a great option for testing and experimenting.
Handmade Paper — Try our Paper Sampler to find the perfect texture for your next project.
Calligraphy by House of Modern Letters